Help Guide
How to manage glasses links, and what your customer sees.
For you, the adminManaging customer links
Go to your admin URL and enter the admin password, then tap Unlock. This screen is what anyone sees before they're let in — the password is the only thing gating it.
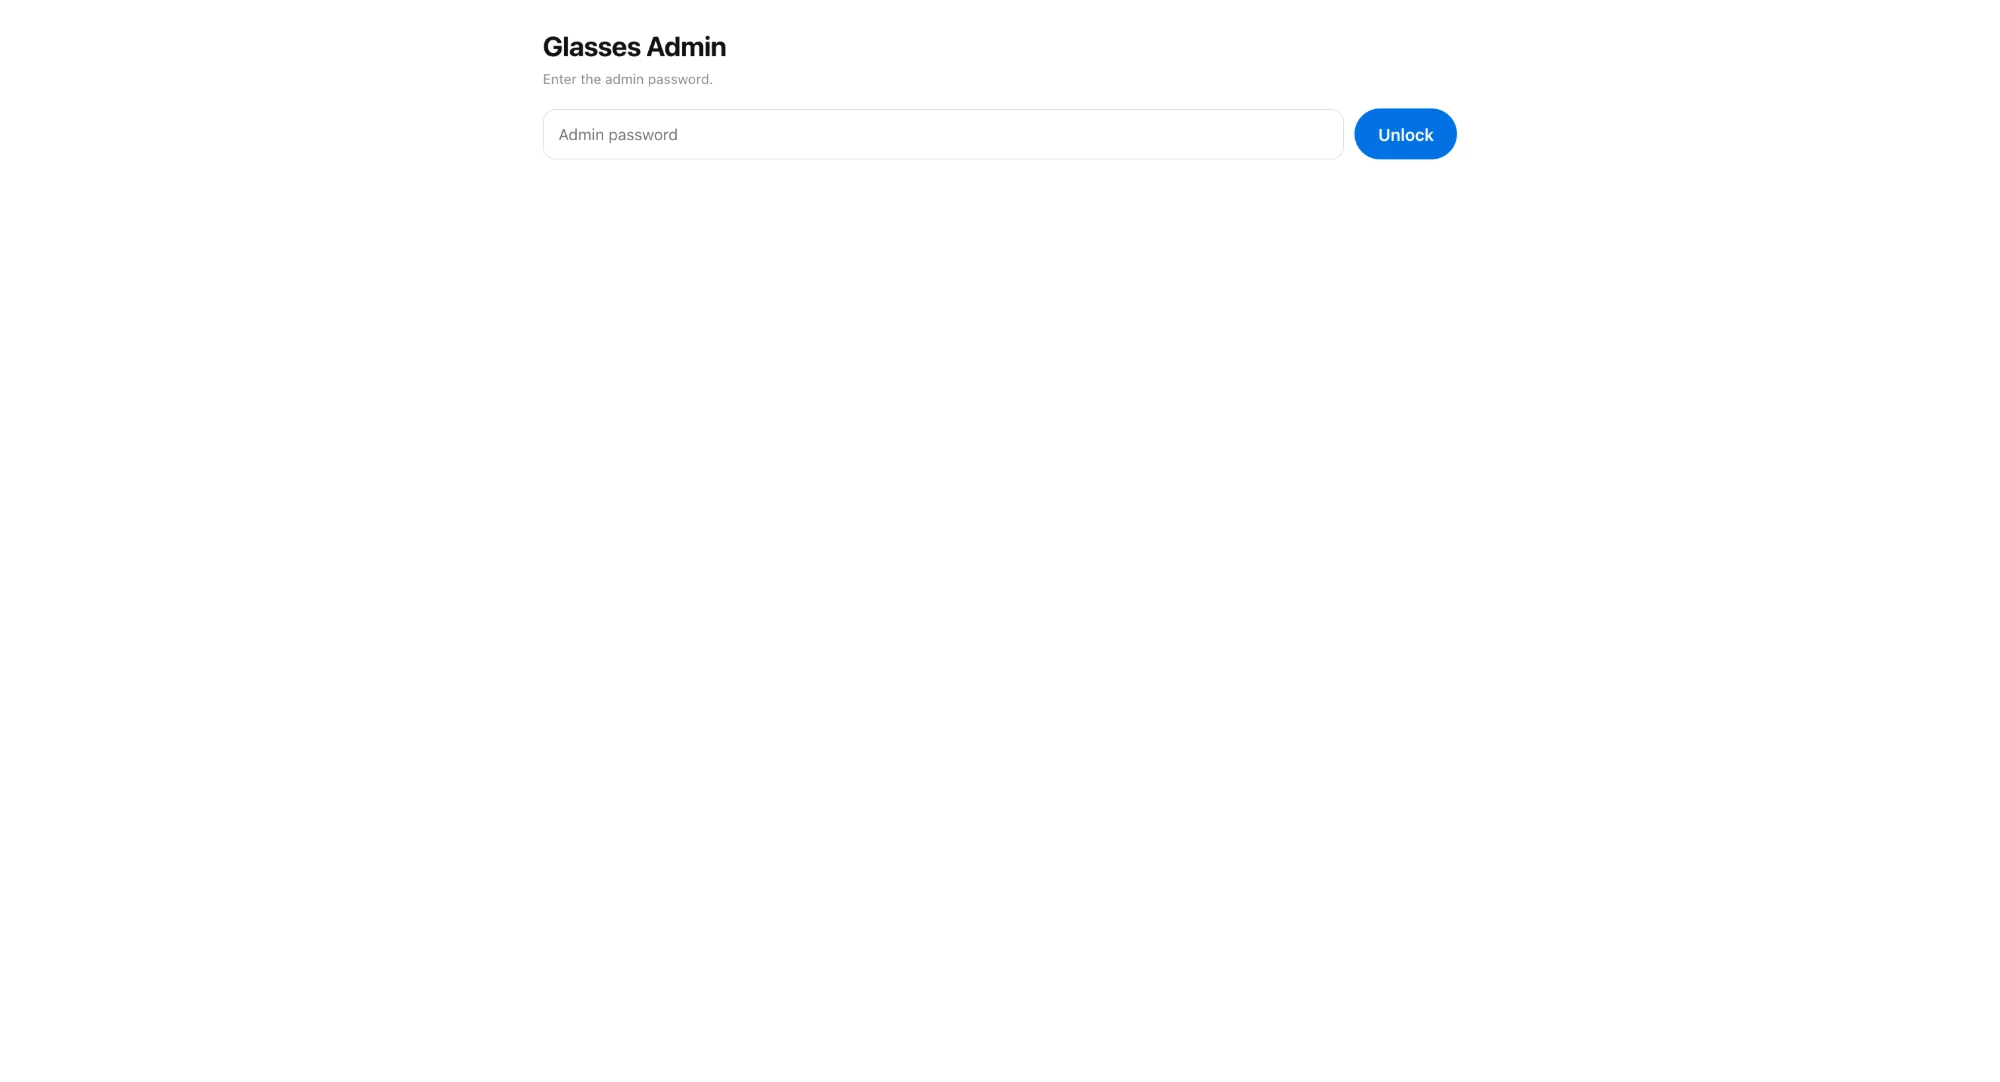
The locked admin screen.
Type the customer's name (or any label you'll recognize them by) into the Customer name field, then tap New link. A private link is generated and a confirmation line appears above the table showing the new URL.
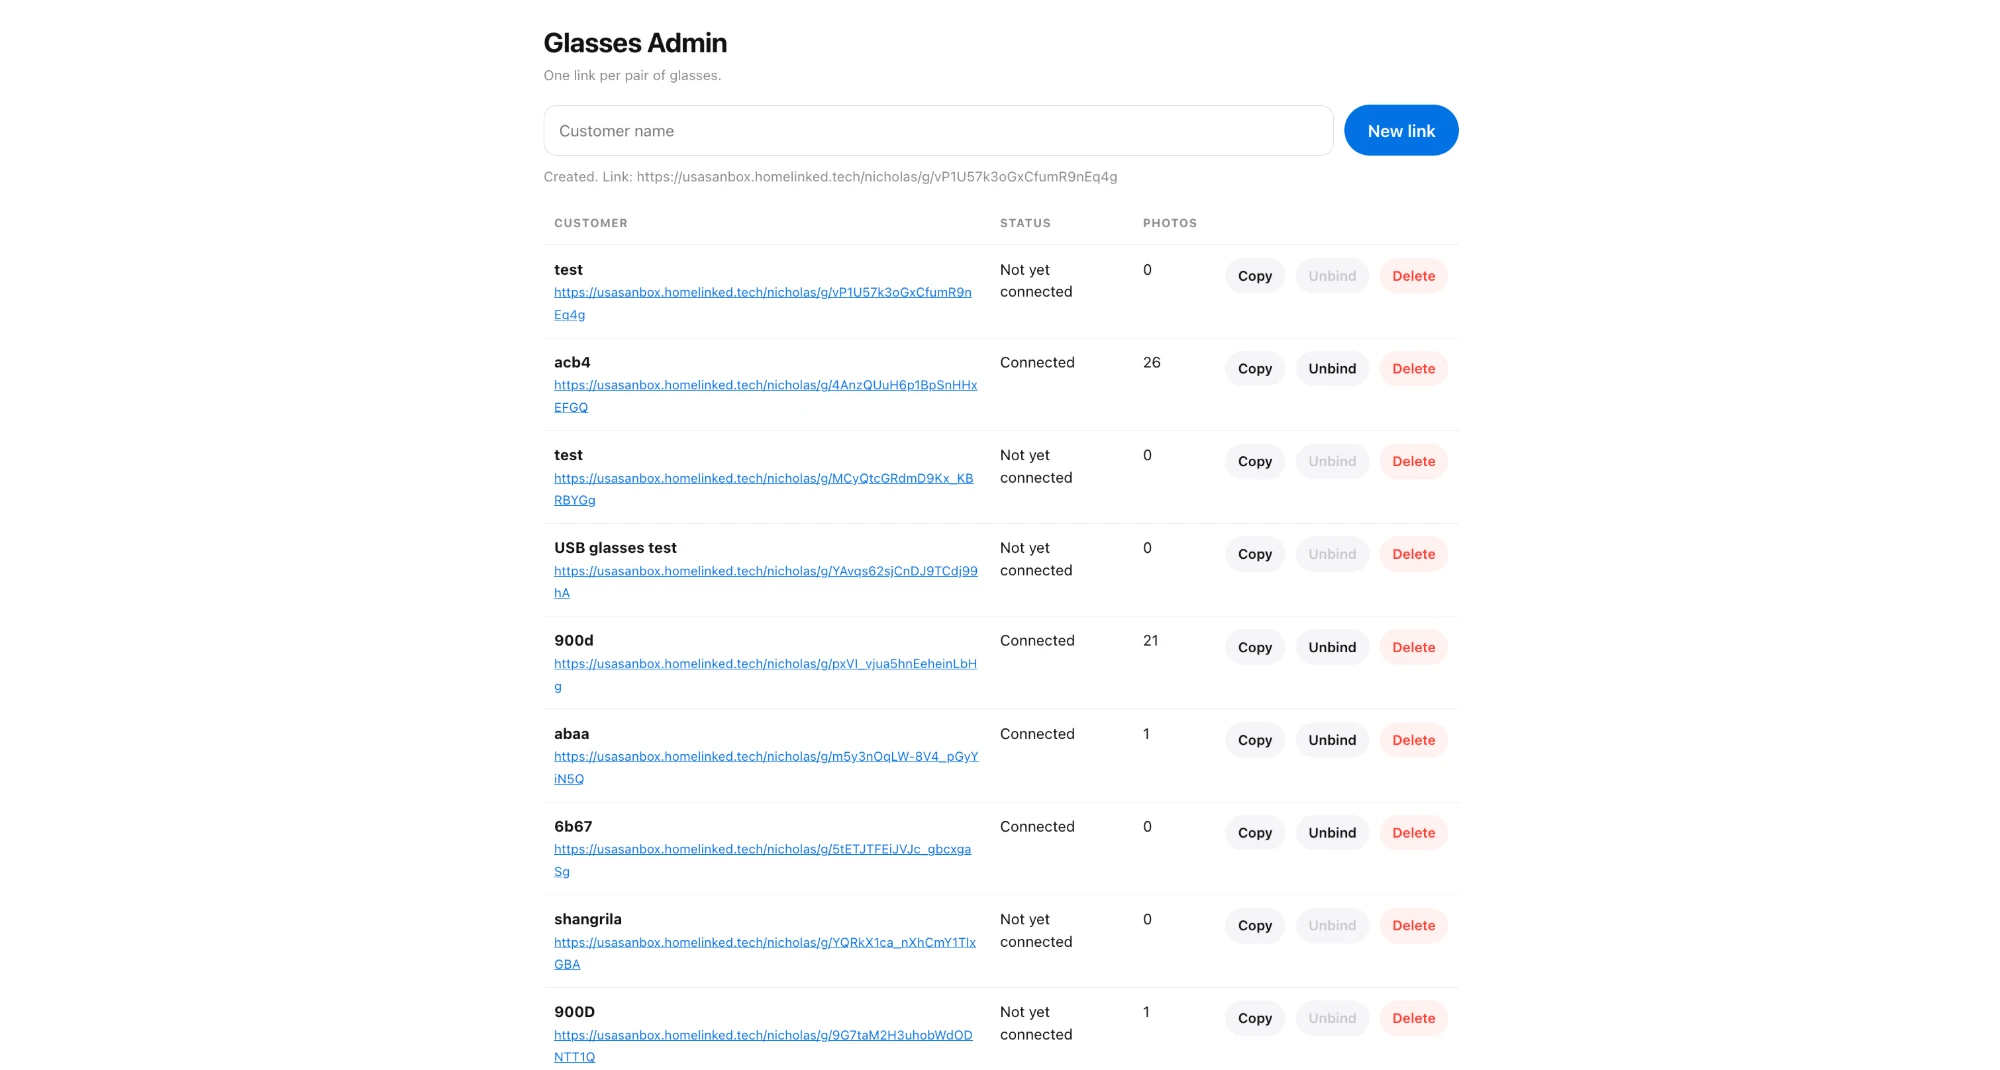
Right after tapping "New link" — the new row lands at the top of the table.
Every row in the table is one customer's link. Each row shows their status (Connected once their glasses have paired at least once, or Not yet connected) and how many photos are on it.
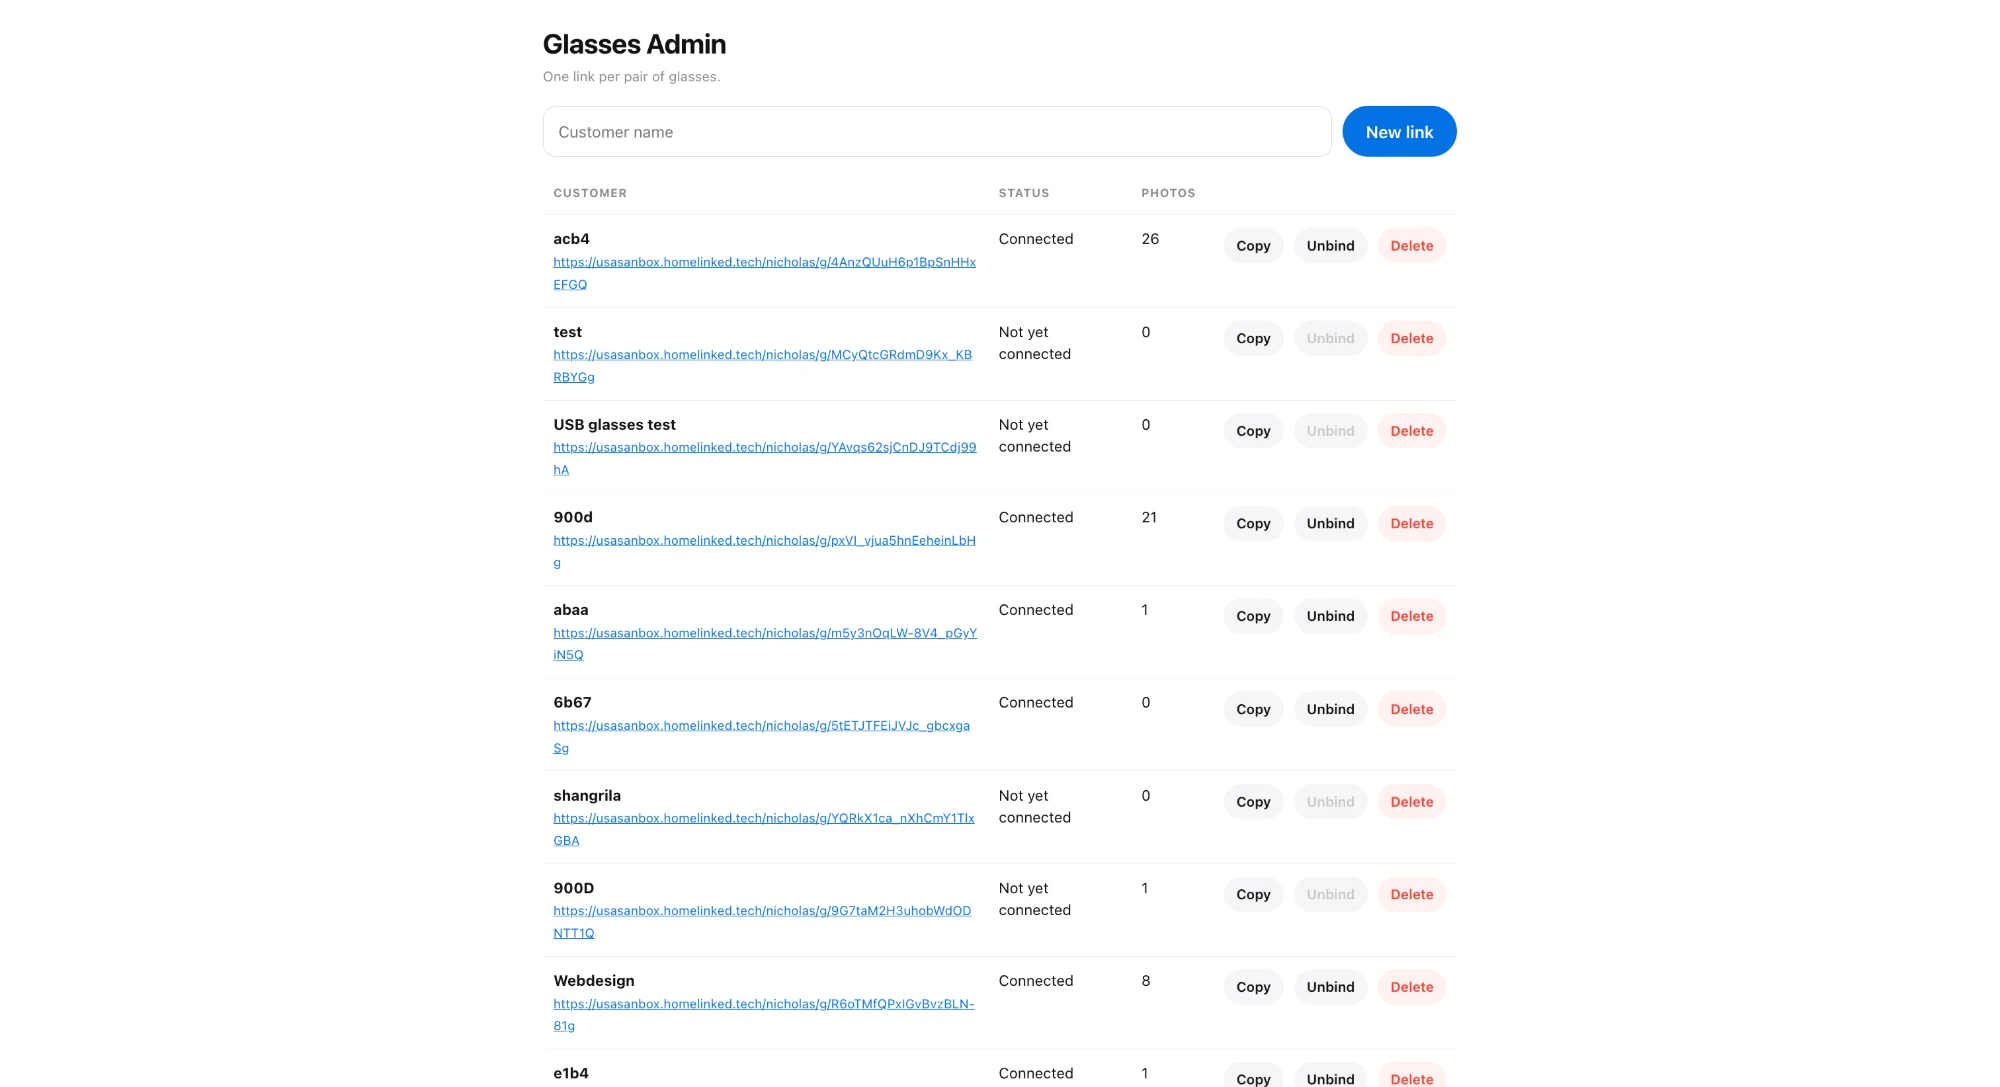
The full link list once unlocked.
- Copy — copies that customer's link so you can send it again.
- Unbind — releases whichever pair of glasses is paired to that link, without touching the link or any of the customer's photos. The link goes back to "Not yet connected" and is open for any pair of glasses to pair to next — the customer's replacement device, or someone else's. Only active once a device has connected.
- Delete — permanently removes the link and its photos. Tap once to arm it (it changes to "Really?"), tap again within a few seconds to confirm. Do this only when you're sure — it's not reversible.
For your customerUsing their glasses page
When a customer opens their link, they land on a page named after their label. Two tabs choose which camera they're using: Glasses (Bluetooth) for the W610 smart glasses, or USB camera if they've plugged in the USB glasses instead. A blue tab is the active one.
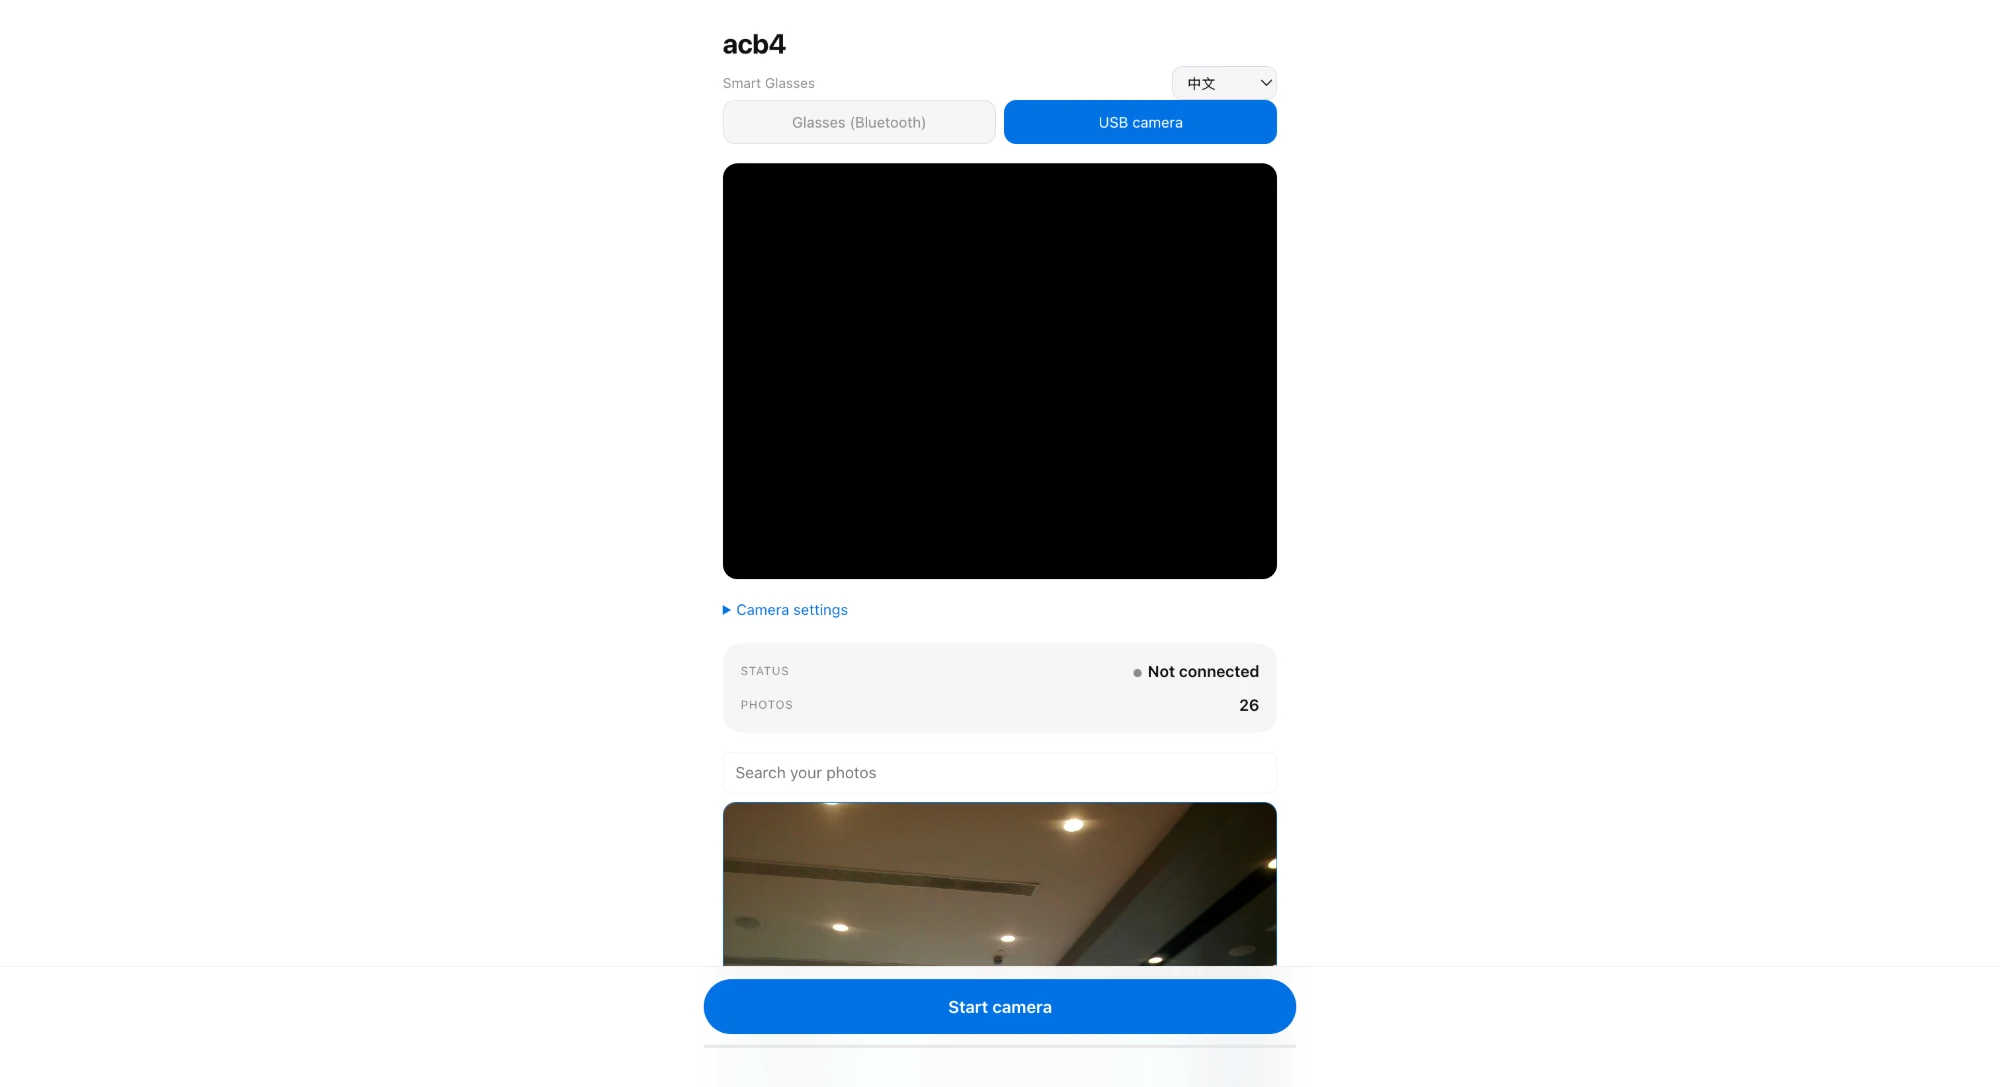
A customer's page: device tabs at top, live camera preview, status card, then their photo library.
The Status card shows whether the camera is connected right now, and how many photos they've taken in total. The button at the very bottom of the page (Connect Glasses or Start camera, depending on the tab) is what actually starts the connection.
Every photo they've taken appears below the status card, newest first, each with its AI-written description and tags. The Search your photos box filters that list by anything in the description or tags — useful once they have dozens of photos.
Photos can be organized into folders, searched, and shared as a view-only link from inside their library — the customer never needs the admin page or password for any of that. If something looks wrong (a link stuck on "Not connected," or a customer says their photos vanished), that's the moment to come back here and check their row in the admin table.